How to Install a Home Charging Station
If your panel has about 40 to 50 amps of spare capacity and a suitable parking spot, you can usually install a Level 2 charger; if not, you need an electrician-led upgrade or another charging plan. Bad wiring, undersized panels, or the wrong charger can waste money, trip breakers, or raise code and fire risks. This guide helps you check panel capacity, parking layout, and wiring limits before you buy.
Can your home support a charger?
Start with service size, panel space, and where the car will park. A home with a clear path from panel to parking spot and enough electrical headroom is often ready for a Level 2 circuit; a cramped panel, detached garage, or older service often changes the plan fast.
Check your service size and panel label
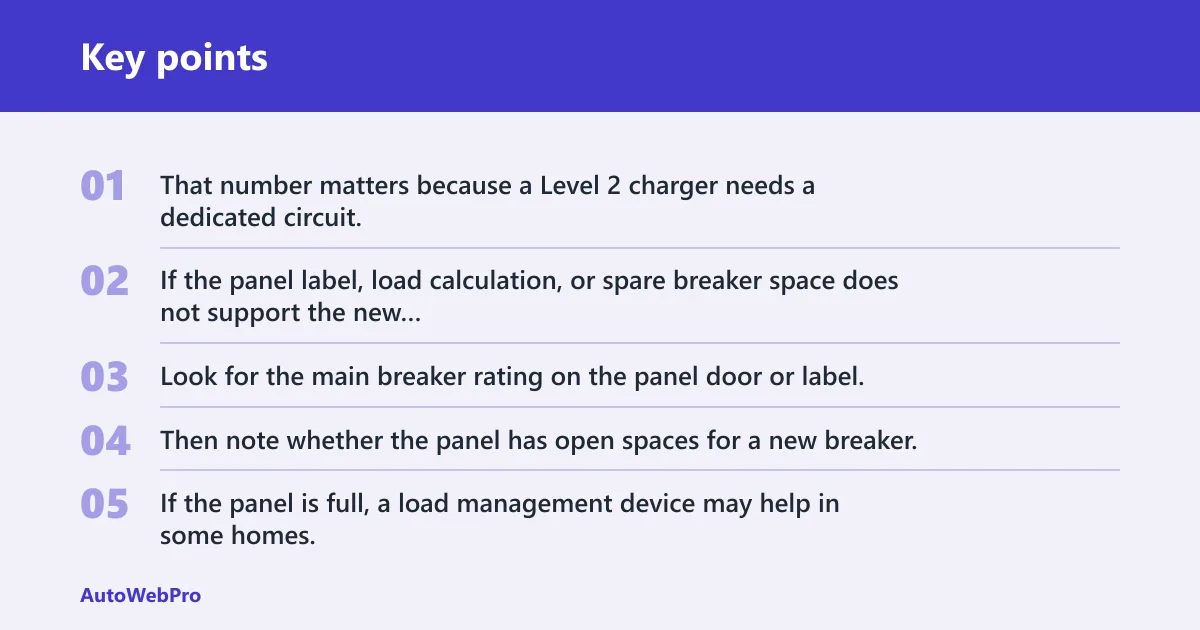
Many homes have 100A or 200A service. That number matters because a Level 2 charger needs a dedicated circuit, and breaker sizing must match the charger load. If the panel label, load calculation, or spare breaker space does not support the new circuit, the next step is not a bigger charger. It is a new electrical plan.
Look for the main breaker rating on the panel door or label. Then note whether the panel has open spaces for a new breaker. If the panel is full, a load management device may help in some homes, but it is not a cure for every setup.
Spot common red flags in older homes
Older homes are more likely to need a panel upgrade, especially when the service is 100A, the panel is crowded, or the wiring is already doing a lot of work for HVAC, electric heat, a range, or a dryer. A detached garage can add distance and cost because the wiring path is longer.
Say your home has 100A service, a gas furnace, and an almost full panel. A Level 2 charger may still be possible, but only after a load calculation and possibly a panel upgrade or load management device. That is the point where the charger choice should follow the electrical limits, not the other way around.
When a load calculation is the next step
If the service size is unclear, the panel is full, or you are adding a charger to a home with several large appliances, a load calculation is the next step. That calculation tells the electrician whether the existing service can support the new circuit without overload. It also helps avoid paying for upgrades you do not need.
For a new 240V circuit, local AHJ rules usually control permits, inspection, and the exact paperwork. The electrician should handle the load check, breaker selection, wiring plan, and sign-off path.
Level 1 vs Level 2 charging
Level 1 charging uses a 120V standard outlet and is usually included with the vehicle. It is slow, but it can work for low daily mileage. Level 2 charging uses 240V, needs a dedicated circuit, and is the common home charging choice because it can add far more range each hour.
What a 120V outlet can and cannot do
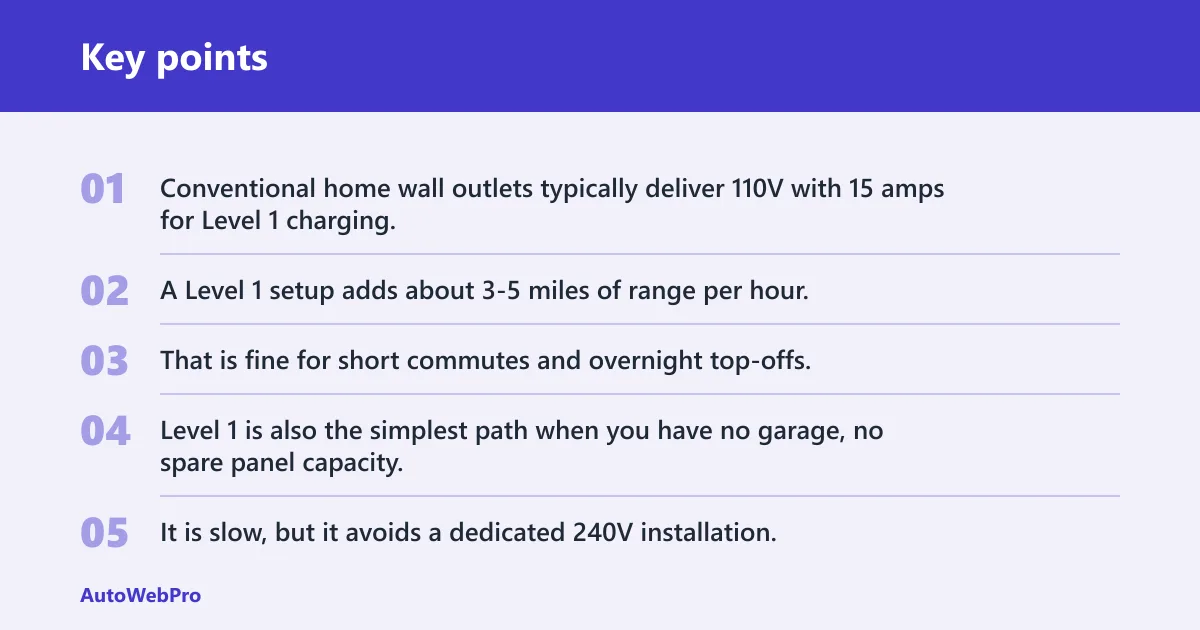
Conventional home wall outlets typically deliver 110V with 15 amps for Level 1 charging. A Level 1 setup adds about 3-5 miles of range per hour, and another source places it around two or three miles per hour. That is fine for short commutes and overnight top-offs, but it is not the best fit for high-mileage drivers.
Level 1 is also the simplest path when you have no garage, no spare panel capacity, or you are renting and cannot alter the electrical system. It is slow, but it avoids a dedicated 240V installation.
Why most owners choose a 240V circuit
Level 2 chargers use 240V and can be hardwired or plugged into a 240V outlet. They can add about 10-40 miles of range per hour depending on the vehicle and amperage, and one guide places the range at 25-40 miles per hour. That speed makes overnight charging practical for most owners. (Batterytender)
Level 2 is the right target when you want the car ready each morning without planning around public stations. It is also the setup that usually requires a licensed electrician, permit, and inspection.
How amperage changes charging speed
Amperage affects how much power the charger can draw, and that changes charging speed. A higher-amperage circuit can charge faster, but the breaker, wire size, and charger rating all have to match. A charger that needs a 40A circuit cannot be placed on a smaller breaker just because the outlet fits.
A common first-timer mistake is choosing the charger first and the circuit later. The better order is service check, load calculation, circuit plan, then charger selection.
Installation options that fit your home
The right installation depends on panel capacity, parking layout, and whether you want a charger that can move with you later. Hardwired installs, NEMA 14-50 outlets, detached garage runs, and load management devices each fit different constraints.
Hardwired charger versus NEMA 14-50 outlet
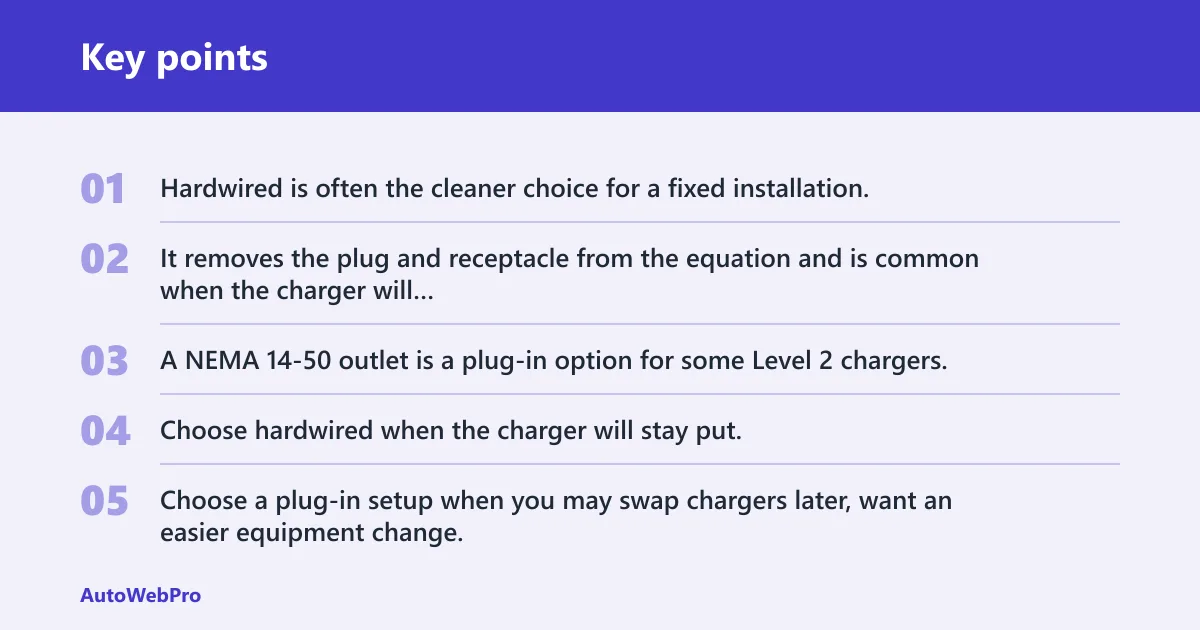
Hardwired is often the cleaner choice for a fixed installation. It removes the plug and receptacle from the equation and is common when the charger will stay in one spot. A NEMA 14-50 outlet is a plug-in option for some Level 2 chargers, but it still needs correct breaker and wire sizing.
Choose hardwired when the charger will stay put, the cord length already fits the parking spot, and you want fewer parts between the panel and the vehicle. Choose a plug-in setup when you may swap chargers later, want an easier equipment change, or need the flexibility of moving the unit.
Detached garage and long-run wiring cases
A detached garage often means trenching, conduit, or a long wire run. That adds labor and materials, and it can change the permit scope. Long conduit runs also matter because voltage drop and wire size become part of the design, not afterthoughts.
Picture a detached garage about 70 feet from the house panel. The electrical plan may still be straightforward, but the cost rises because the run is longer, the conduit path is more complex, and the electrician may need to size the wiring for distance as well as load.
When a load management device makes sense
A load management device can help when panel capacity is tight and a full upgrade may not be needed. It watches the home’s electrical demand and limits charger output so the service is not overloaded. Some installers use this as an alternative when a home is close to its limit.
It is worth considering when you have a 100A service, limited breaker space, or a home with several large loads already online. It is less useful when the service is too small for the whole house, or when the panel itself has no safe room for the added circuit.
Home charger readiness checklist
This checklist helps you separate an install-ready home from one that needs an electrician-led upgrade or a different charging plan. Use it before you buy the charger.
| Home condition | Likely install path | Expected cost add-on |
|---|---|---|
| 200A service, open breaker space, parking beside the panel wall | Standard Level 2 install, hardwired or NEMA 14-50 depending on charger | Lowest add-on; labor and permit only in many cases |
| 100A service with several large appliances already on the panel | Load calculation first; may need load management device or panel upgrade | Moderate to high, depending on upgrade need |
| Detached garage with a long conduit run | Level 2 still possible, but route, trenching, and wire size must be planned | Added trenching and materials cost |
| Full panel with no spare breaker space | Panel work or subpanel planning before charger install | High if a panel upgrade is required |
| Condo or shared parking without clear electrical control | Building approval, HOA or management review, or a different charging plan | Varies widely; may include administration and shared-infrastructure costs |
| Renter with no permission for electrical changes | Level 1 charging, approved shared charging, or landlord-approved install | Usually low unless landlord authorizes work |
How much does it cost to install a home charging station?
The total cost depends on equipment, labor, permits, and any electrical work beyond the charger itself. A common guide estimates Level 2 charger equipment around $600 and Level 2 installation at about $1,200 on average. Real projects can move well above that once trenching or panel work enters the picture.
Equipment cost
Charger equipment is one line item. A basic Level 2 unit may be near the lower end of the range, while more advanced models can cost more because of cord length, smart features, or higher output. A plug-in unit and a hardwired unit can also differ in included parts.
Do not forget the outlet or connector choice. A NEMA 14-50 setup is not free just because the charger plugs in; the receptacle, breaker, and wire still have to match the load.
Labor, permit, and inspection costs
Labor covers the electrician’s time for circuit design, wiring, breaker work, and final sign-off. Permit and inspection fees vary by local AHJ rules, but they are typical for a new 240V circuit. Inspected work helps document code compliance.
In some areas, the permit is a small share of the total. In others, it is a meaningful line item because the project requires extra review or coordination.
Trenching, conduit, and panel upgrade add-ons
Trenching and long conduit runs are common add-ons for detached garages or parking farther from the panel. Panel upgrades are the largest cost jump because they can involve new service gear, rewiring, and inspection. Homes with 100A service are more likely to face this issue than homes with 200A service.
F1 offers up to £350 toward purchase and installation of a charge point in some cases, and one eligibility rule calls for off-street dedicated parking and an approved plug-in vehicle. That is useful only where the local program applies, but it shows how ownership and parking setup can shape the plan.
Who should do the work?
A licensed electrician should handle Level 2 circuit installation, breaker sizing, panel work, and inspection sign-off. That is especially true when the job involves a new 240V circuit, a panel change, or any work inside the service equipment. Safety and code compliance are the reasons, not paperwork alone.
Why a licensed electrician matters
Level 2 work is not a casual outlet swap. It involves load calculation, breaker selection, correct wire sizing, and a circuit that cannot be shared with other appliances. A mistake here can trip breakers, fail inspection, or create a hazard.
Level 2 chargers typically need a separate branch circuit under NEC Article 625. That is the type of detail an electrician should confirm before the install begins.
What the electrician handles
The electrician should review panel capacity, confirm whether the home can support the charger, and map the route from panel to parking spot. They also handle the breaker, conductors, receptacle if needed, and permit process. If the panel is not suitable, they should tell you before any equipment is ordered.
If the setup is for a hardwired charger, the electrician should match the load to the circuit and install the unit to the manufacturer’s instructions. If it is a plug-in charger, the receptacle and circuit still need to be built for the load.
What to ask before you hire
- Will you perform a load calculation before pricing the job?
- Do you expect a permit and final inspection for this circuit?
- Will this be hardwired or a NEMA 14-50 outlet, and why?
- What do you expect if the panel is full or the garage is detached?
- Will you label the breaker and provide inspection paperwork at the end?
What happens after installation?
After the charger is installed, the job is not finished until the labels, test charge, app setup, and paperwork are done. A clean post-install closeout helps you use the charger correctly and gives you records if you sell the home or change equipment later.
Breaker labels and paperwork
The breaker should be labeled clearly so the charger circuit is easy to identify. Keep the permit, inspection record, and any electrician notes with your home documents. That record is useful if you upgrade the charger, sell the property, or need service later.
Test charge and app setup
Run a test charge and confirm that the charger starts, the breaker stays stable, and the cable reaches the parking spot without strain. If the charger has an app, set it up right away so you can monitor charging and schedule sessions if that feature matters to you.
Keep the inspection record
Inspection paperwork matters because it shows the work was approved under local rules. Keep it with the charger manual, warranty record, and electrician invoice. If the home changes hands, that folder saves time.
Frequently asked questions
How much does it cost to install a home charging station: cost depends?
Cost depends on equipment, labor, permit fees, trenching, and whether the panel needs work. Ask for a line-item quote.
Do I need a licensed electrician for a Level 2 charger?
Yes, for most homes. Level 2 work involves a dedicated 240V circuit, breaker sizing, wire sizing, and often permit and inspection steps. A licensed electrician is the right person for panel work and for confirming that the home can safely support the charger.
Do I need a permit to install an EV charger at home?
Usually, yes for a new 240V circuit. Local AHJ rules control the exact process, and many areas require inspection after the work is complete. A permit is part of code compliance and gives you a record that the installation was approved.
Can I install a charging station at home myself?
You can handle planning, but not the electrical work if the project involves a new 240V circuit, panel changes, or breaker installation. That work should be done by a licensed electrician. A simple Level 1 plug-in setup is the only common home option that may need no electrical modification.
Will my electrical panel support a home EV charger?
Maybe. A 200A home has more room than a 100A home, but the answer still depends on current loads, breaker space, and the charger’s amperage. A load calculation is the practical next step, especially in older homes or homes with electric heat, a range, or a dryer already on the panel.